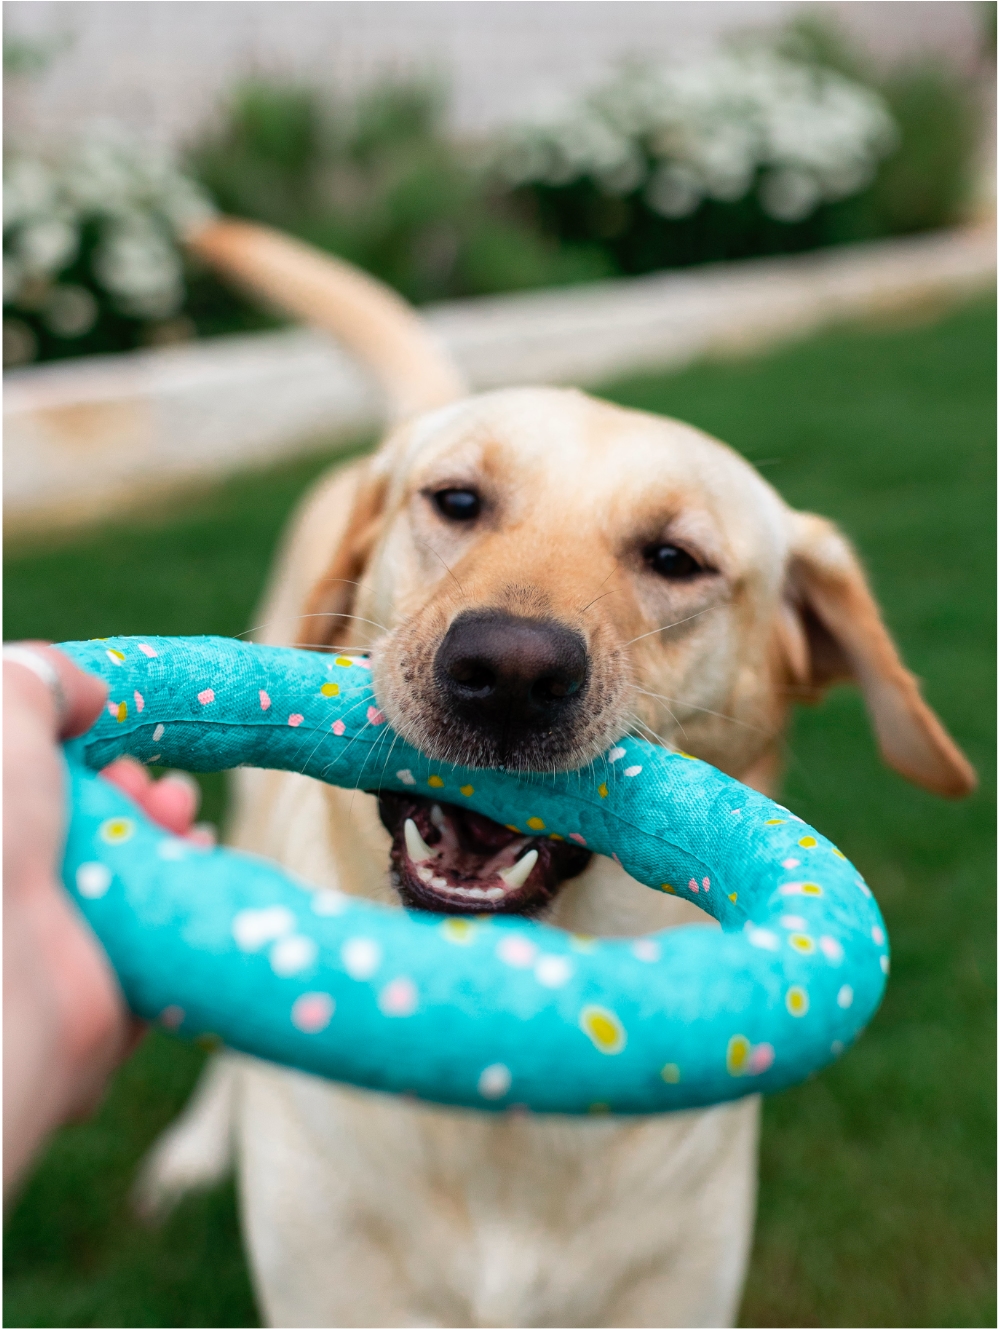
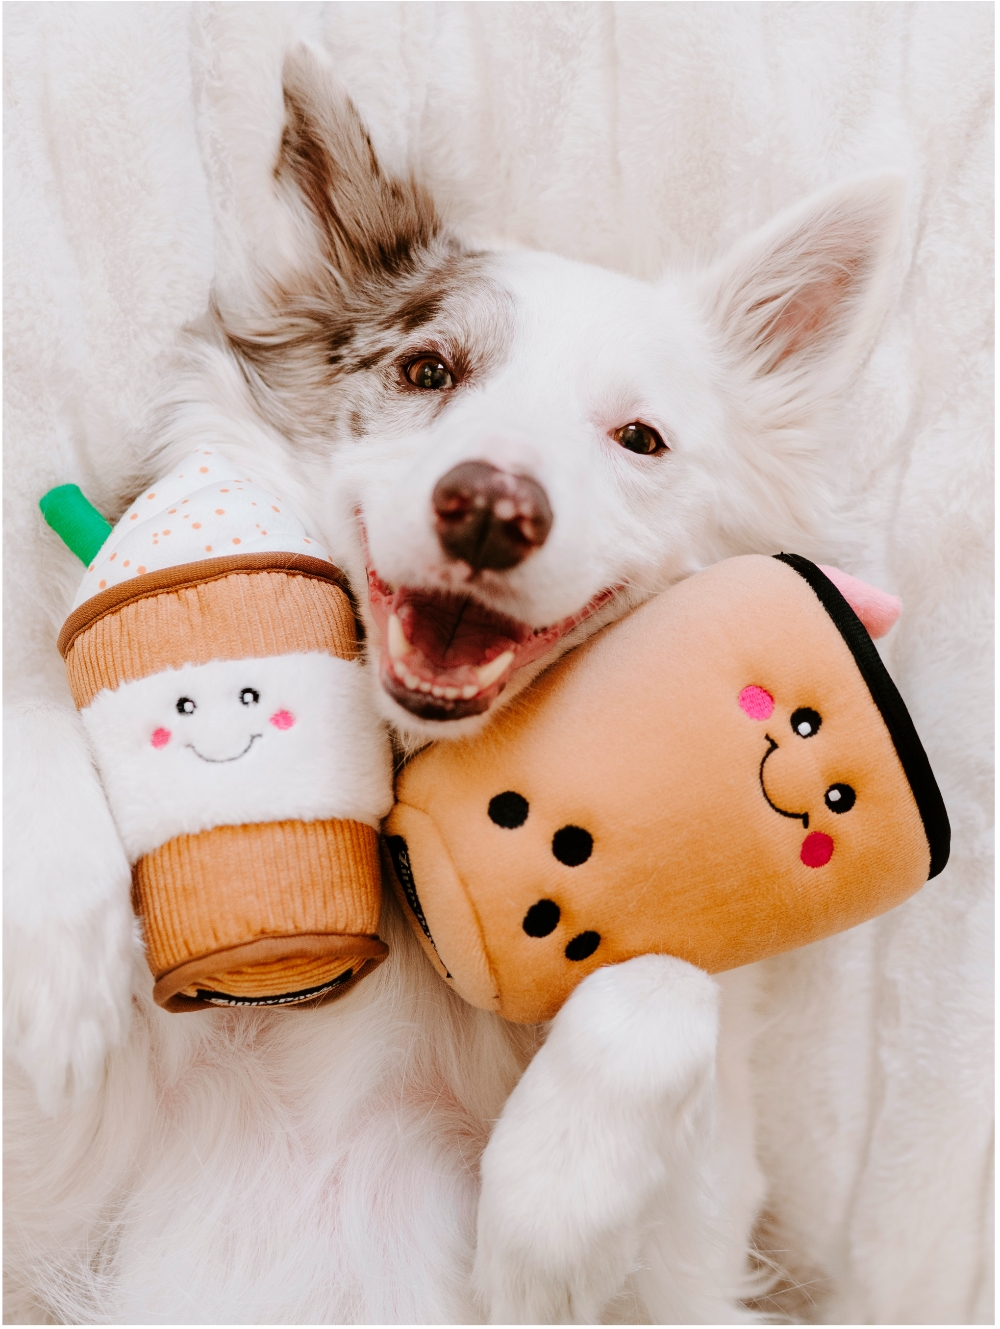
Doggy Bag
0Spend $80.00 more and receive FREE SHIPPING on your order!
Members get free shipping at $50!
Your Cart Is Empty
Login to check out faster.
Subtotal$0.00
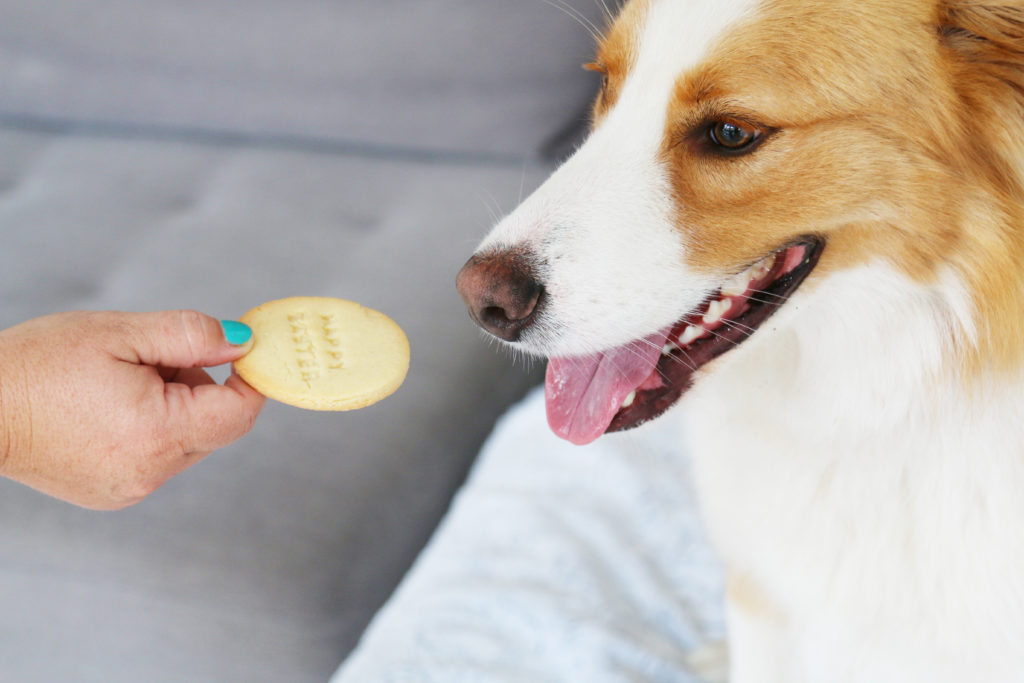
Easter is all about treats from the Easter Bunny, but as we all know chocolate is a definitive no-no for dogs. So to pamper your favorite doggo this Easter season try our Easter Egg Dog Biscuit recipe to get them in on the spirit!
These biscuits can be used in a fun Easter Egg Hunt for dogs, or just a special treat over the Easter holiday. Either way your pupper is going to love it!
Let’s get started!

INGREDIENTS
Makes approximately 12+ biscuits.
[row]
[column]
1 and ¼ Cups Rice Flour
2 Free Range Eggs
2 Tablespoons Coconut Oil
¼ cup Whole Wheat Flour
[/column]
[column]
Yogurt Drops
Natural Food Coloring
[/column]
[/row]
[blog_image]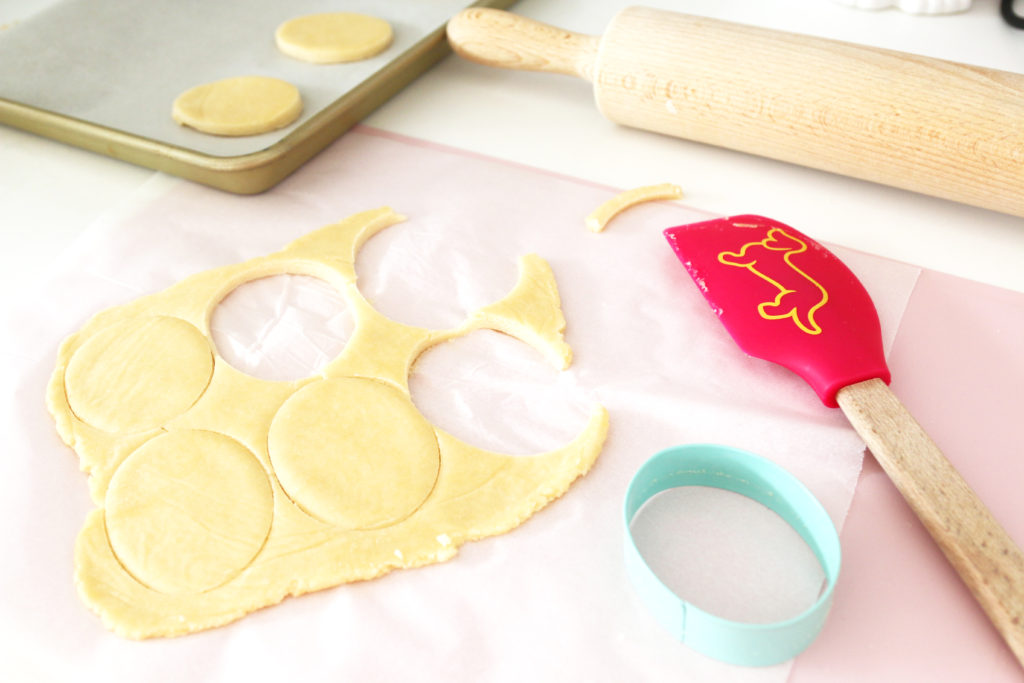 [/blog_image]
HANDY HINTS
Note: The recipe is for treats only and should not replace your dog’s regular meal plans. Always check with your vet about any major changes to your dog’s diet.
COOKING INSTRUCTIONS
[blog_image]
 [/blog_image]
DECORATING YOUR BISCUITS
When it comes to decorating your dog’s Easter biscuits I subscribe to one of two methods. One is the ‘Aint Nobody Got Time For That’ Decoration Instructions – included in the cooking instructions above…which can be as simple as carving designs into the biscuits before baking or hand stamping them with messages.
To be honest, if I’m making biscuits just for my dog I’ll go with this method! However if they’re for a special occasion or for sharing with our favorite doggie friends I’ll make a yogurt icing which is a simple as can be…
YOGURT ICING INSTRUCTIONS
Note: I opt to use natural food coloring here, however there are many tutorials online on how to make your own non-processed natural food colors at home which are great!
[blog_image] [/blog_image]


About the author: Serena Faber Nelson is a writer, television producer and dog lover. She is the creator of Pretty Fluffy, a blog where dedicated dog owners can find stylish products, modern advice, and inspiration for living with their pets.
Find her on Instagram: @pretty_fluffy
On May 30, 2026, ZippyPaws proudly returned for our second consecutive year at SoCal Wienerfest, America’s largest dachshund festival. This year’s event was extra special ...Continued
At ZippyPaws, we believe every pet deserves a little extra joy – especially shelter pets – and our recent Donut Day initiative was all about ...Continued
On May 2nd, the ZippyPaws team gathered at the beautiful McCoy Equestrian Center in Chino Hills for a very special occasion – our 15th Anniversary ...Continued